![]()
Using Sudometrics is simple
All you need is a packet of two sudomotor sweat function pads (one for each foot) and the Sudometrics app. The app will guide you through each step.
Getting ready
Step 1 Download the Sudometrics app

- Search for Sudometrics on the App Store for Apple devices or on the Google Play store for Android devices.
- Install the app on your device.
Step 2 Choose your language
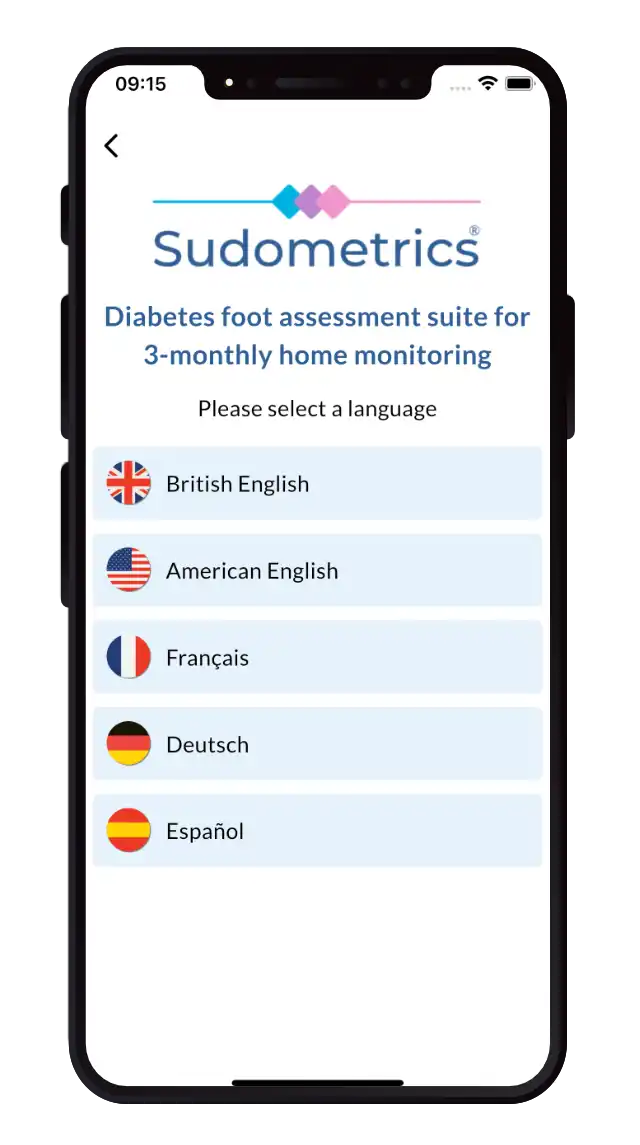
- The Sudometrics app is available in British English, American English, French, German and Spanish.
- Select the language that you would like to use for the app.
Step 3 Tell Sudometrics about yourself
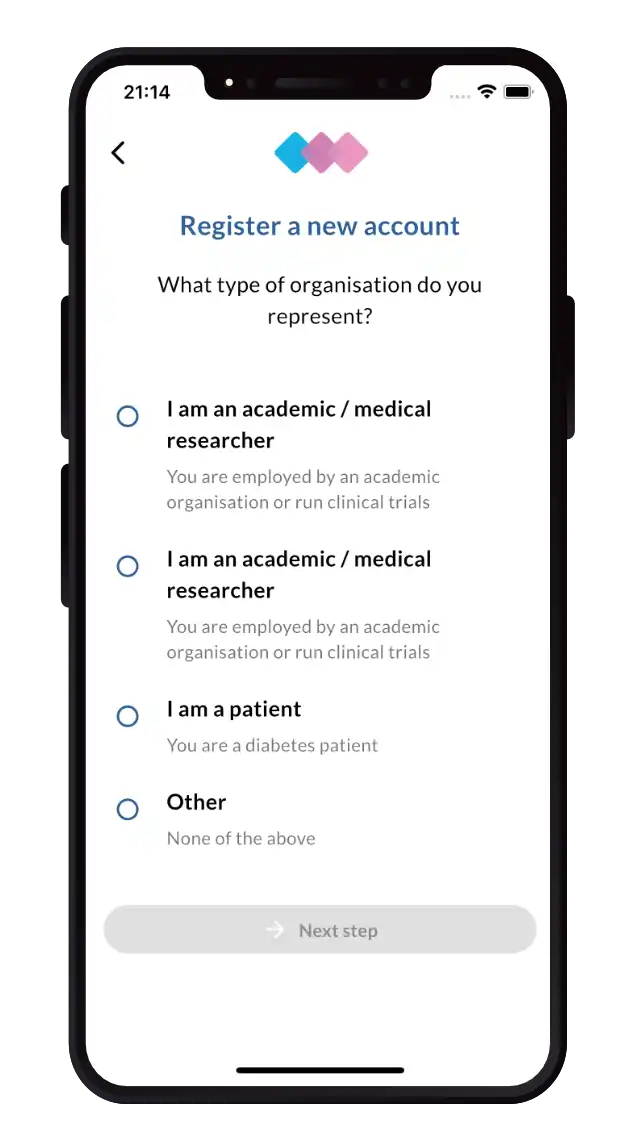
- Tell Sudometrics what kind of user you are, for example a health care professional, researcher or patient.
- Identify the name of the organisation that you work for, so that you can share access to patient data with colleagues.
Step 4 Create a new account
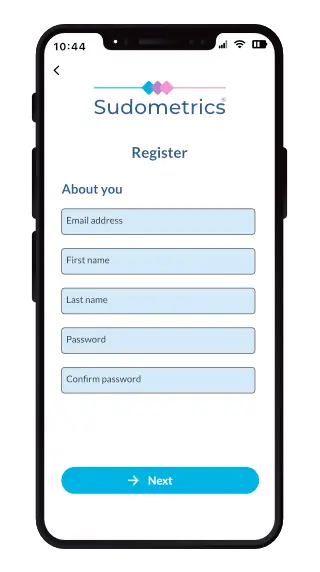
- Create a new account using your professional email address and a password.
- Be reassured that all data is secured both in transit and in our database with rigorous access control to ensure that all data remains secure at all times.
Step 5 Create a patient cohort
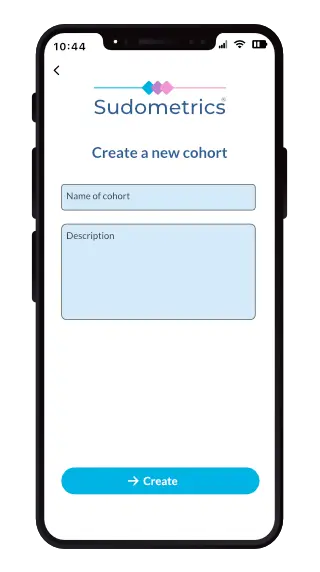
- Create a patient cohort and give it a memorable name
- A cohort is a group of patients that can either be tested together multiple times, for example every 6 months, or individually.
Step 6 Add patients to the cohort
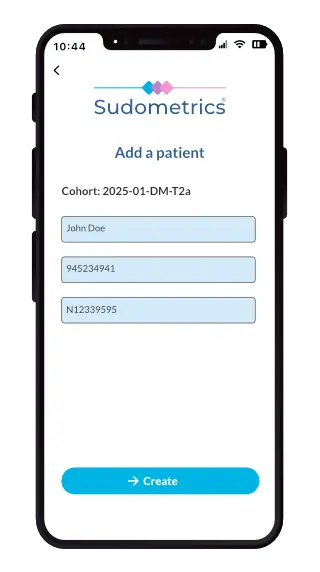
- You can then add patients to the cohort either one by one or via a bulk upload.
- If it is easier, you can upload patients via the website.
- You are fully in control of what patient data is used, for example, it is possible to use unique identifiers that do not reveal any patient personal data, or provide more detail if you choose.
- Data security is at the heart of Sudometrics.
Running the test
Step 1 Start a new test
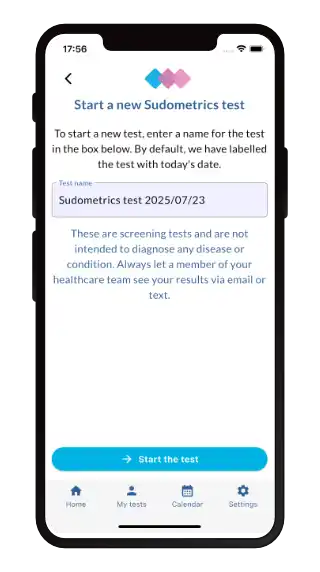
- Start a new test and the app will guide you through the subsequent steps.
- You can then use the app to compare the test against previous other tests for this patient to inform an optimised treatment plan, and to generate reports for use in studies.
Step 2 Ask your patient to remove all footwear
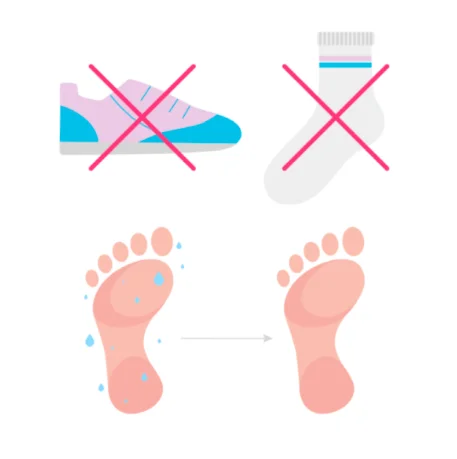
- Your patient should remove their shoes and socks or stockings, so that their feet are bare.
- The feet should be washed and then thoroughly dried.
Step 3 Wait for 5 minutes

- Now wait at least five minutes to let the feet acclimatise to the environment.
- Make sure your hands are also clean and dry to ensure that no moisture is transferred to the pads.
- It’s vital to ensure that feet and hands are completely dry, so that the tests can be as accurate as possible.
Step 4 Open the outer pack
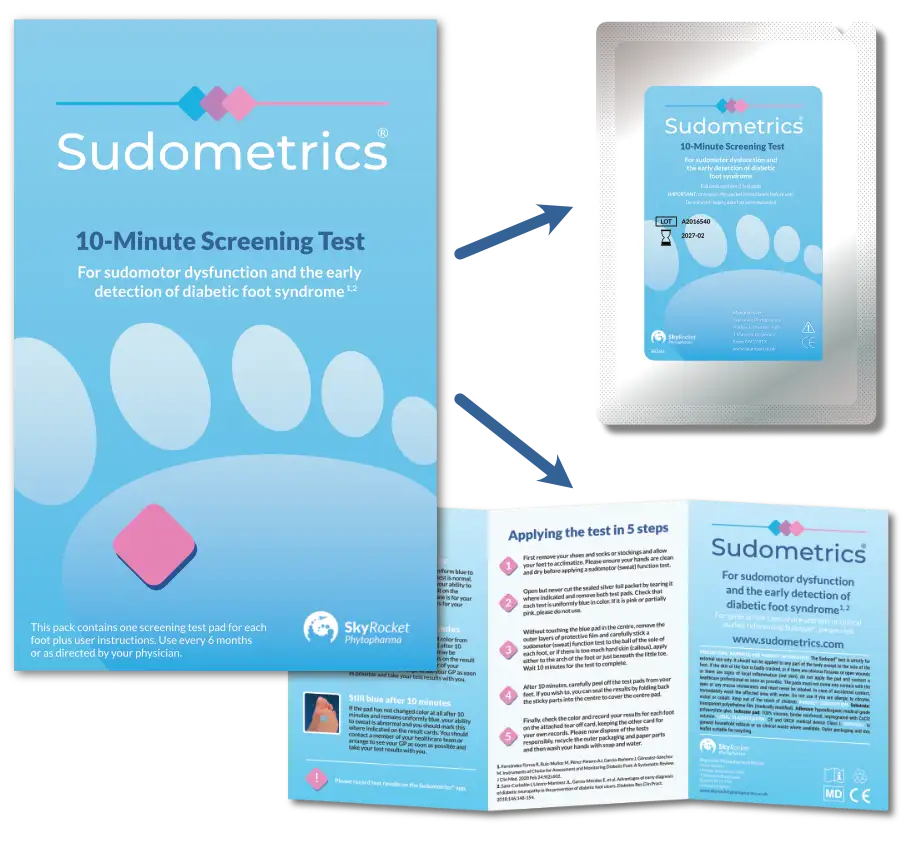
- Open the outer cardboard pack of the sudomotor (sweat) function test (SFT).
- Remove the user instruction card and foil packet.
- The instruction card provides guidance similar to this page.
Step 5 Open the inner foil packet
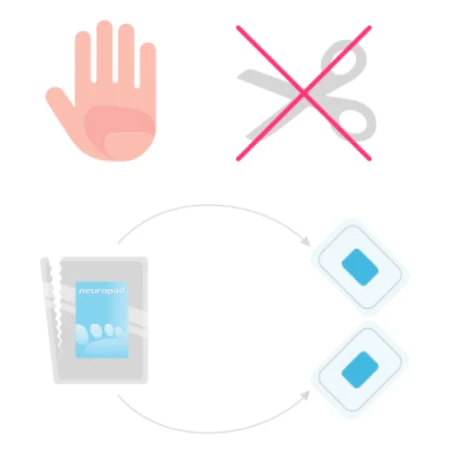
- Open the silver-coloured foil pack by tearing down from the marked notch.
- Remove the two plastic sleeves which contain the sweat function test pads (one for each foot).
- Do not use scissors to open the pack.
Step 6 Remove the pads from the foil packet

- Remove the pads from the foil packet.
- Ensure that each pad is blue and has no signs of pink.
- If there is any pink present, please discard the pad and stop the testing.
Step 7 Apply the sudomotor (sweat) function test
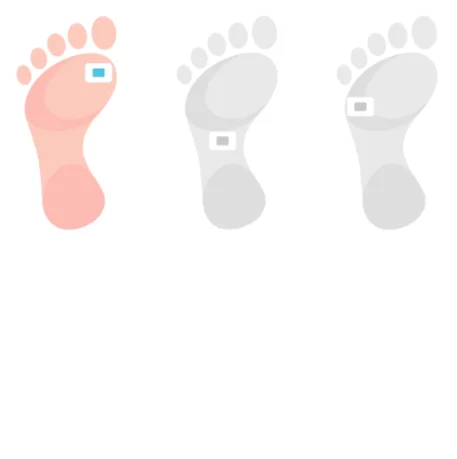
- Choose a position on the sole of your patient’s foot to apply the pad, ideally on the ball of the foot as shown (far left picture).
- If the ball of the foot has a lot of callus, apply the pad to one of the two alternative positions.
- Place the pad in the same spot each time to help track progress more accurately.
- During the 10-minute testing, ensure that the patient keeps their foot raised and that the part of the foot where the pad is attached is off the floor.
Step 8 Wait for 10 minutes

- Start the countdown as soon as you have stuck the sudomotor (sweat) function test pad on to the sole of the foot.
- Do not remove the pad until 10 minutes have elapsed.
Step 9 Carefully remove the pad from your patient’s foot
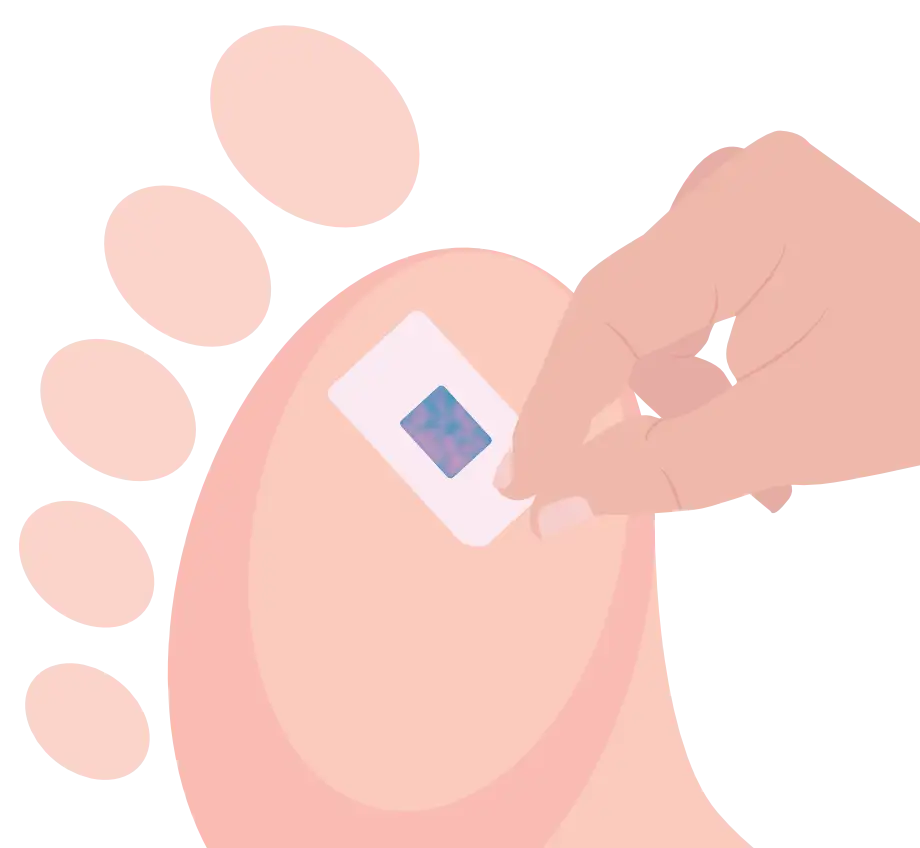
- Carefully peel the sudomotor (sweat) function test from your patient’s foot, taking care not to touch the coloured central rectangle.
- Get the mounting card ready.
Step 10 Stick the pad to the mounting card
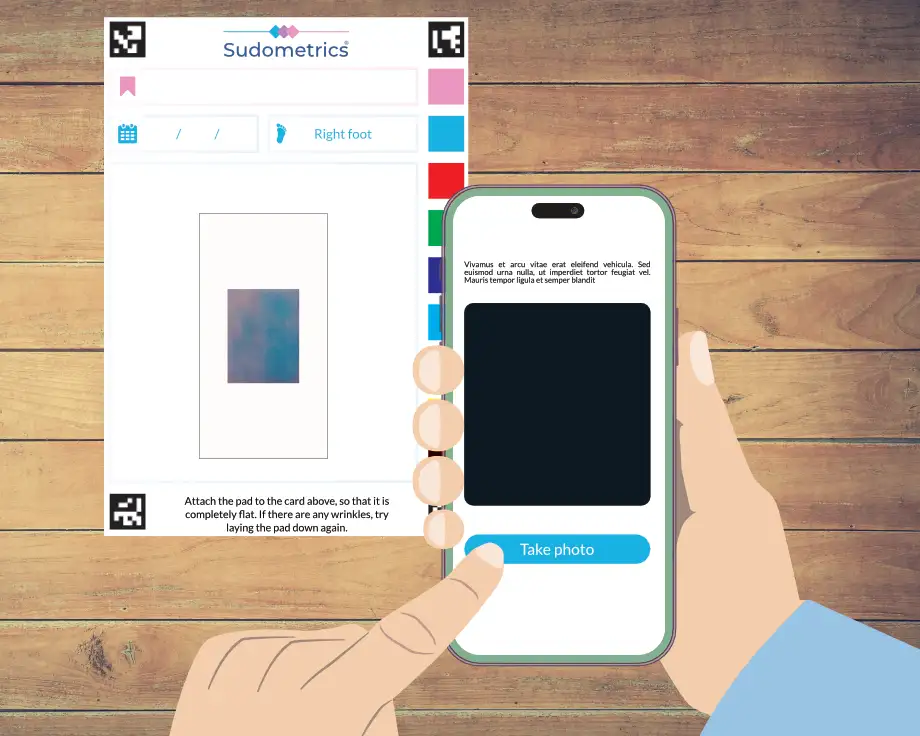
- Stick the pad to the supplied mounting card, taking care to stick the pad from the left foot to the card which has left foot marked on it, and the pad from the right foot on the right foot mounting card.
- If the pad is not quite flat, lift it up and try again.
- Then, using the Sudometrics app, take a picture of the mounting card and pad.
Using the results
Step 1 View the results
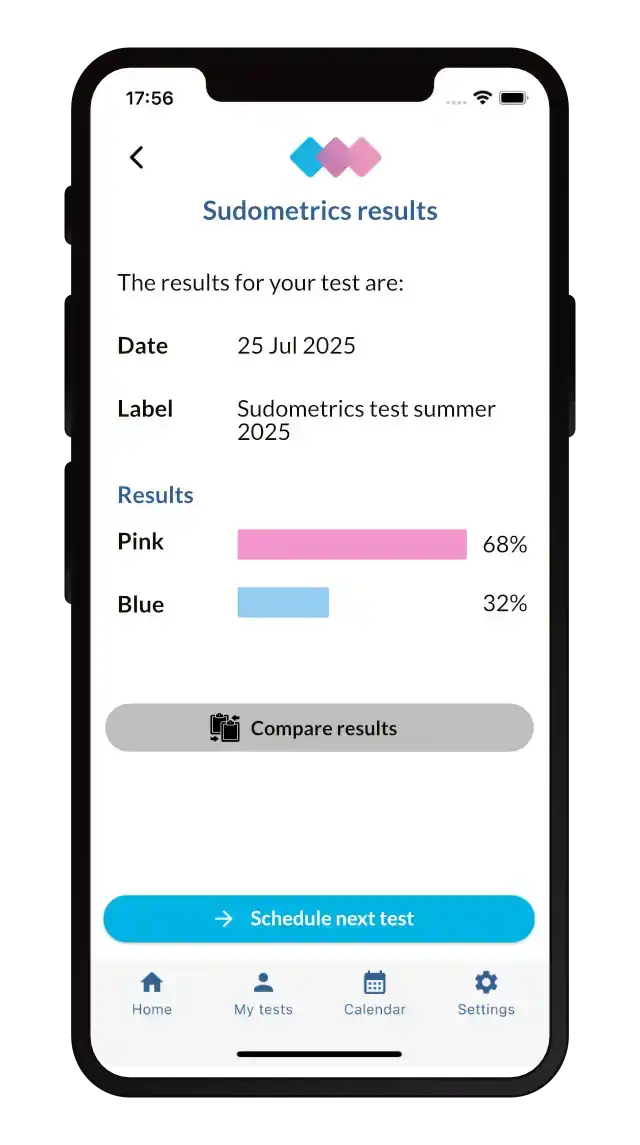
- The app works out the degree to which the pad has changed colour from blue to pink.
- The more pink the result, the better your feet can produce sweat, i.e. less serious damage to the sudomotor function.
- From this screen, you can compare results against previous ones and schedule in the patient’s next test.
Step 2 Compare results
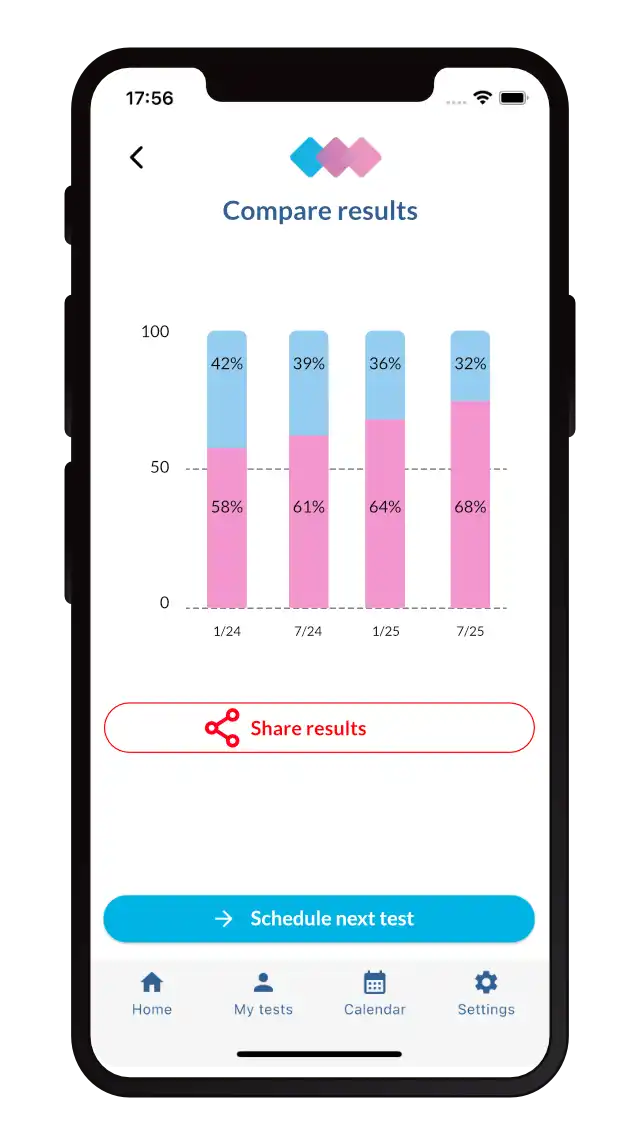
- Use the Sudometrics app to show a comparison between the results of all the tests that you have run for this patient.
- You can use this comparison as a simple, visual way of illustrating how the patient’s treatment is progressing and to help inform future clinical plans.
See Sudometrics in action
